
Overview
Fiber marking is one process at several power levels. The watt count sets how fast you mark and how deep you go, so the right pick starts from your part, not from a brochure.
Why Power Matters
A 20W head handles light codes, logos and most stainless and aluminum IDs. A 30W or 50W head marks harder alloys and runs faster on a line. A 70W or 100W head pushes into deeper engraving and high-throughput work. We match the watt count to your material and your cycle time.
Built to Last
The beam changes the surface itself, so nothing is added on top. The result will not smear, peel or wash off. It holds up to heat, oil, solvents and years of handling.
Specs That Matter
Consolidated across the inline and desktop configurations — values are model-dependent and confirmed per order.
| Parameter | Value |
|---|---|
| Output power | 20W / 30W / 50W / 60W / 70W / 100W |
| Laser wavelength | 1064 ± 5 nm |
| Beam quality M² | ≤1.4 – ≤2 (model-dependent) |
| Pulse repetition frequency | 20 – 400 kHz (model-dependent) |
| Output power stability | < 3% (< 5% on the top model) |
| Marking field | 100 – 300 mm, range optional (110×110 / 200×200 / 300×300 mm typical) |
| Marking / engraving depth | ≤ 1 mm (depends on power and dwell time) |
| Marking speed | up to 10,000 mm/s |
| Repeat accuracy | ± 0.002 mm |
| Minimum line width | 0.1 mm |
| Minimum character height | 0.15 mm |
| Source working life | about 100,000 hours |
| Cooling | built-in air cooling |
| Power supply | 500W / 220V / 50Hz (110V connectable) |
| Operating environment | 0 – 40 °C, 30 – 85% RH |
| File formats | text, QR code, barcode, serial number, graphics |
| Desktop size / weight | 800 × 600 × 1400 mm / ≈ 75 kg |
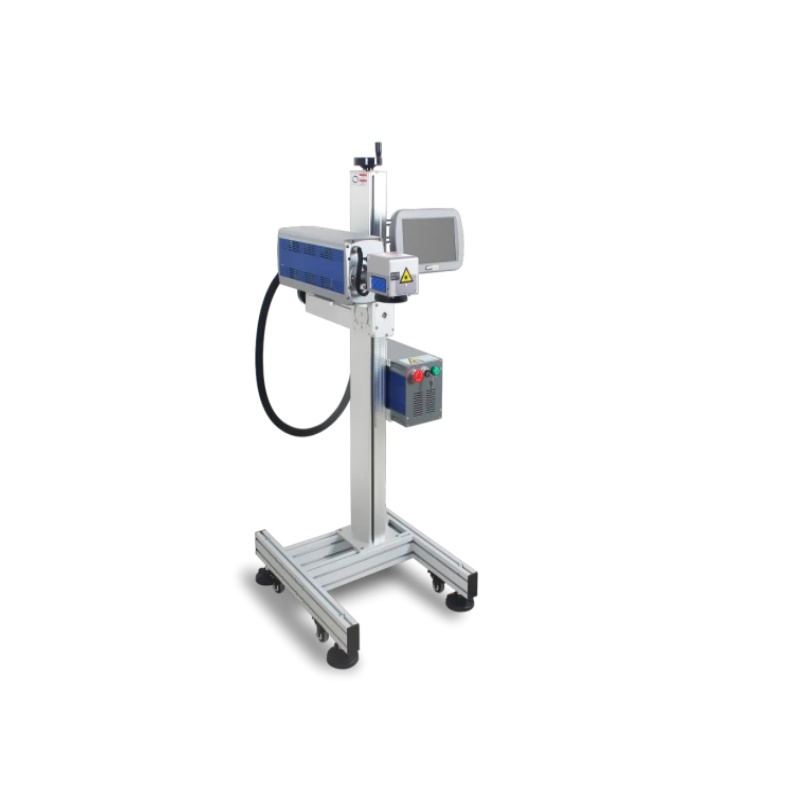
| Inline (flying) size / weight | 660 × 510 × 1460 mm / ≈ 66 kg |
Model & Source Reference
| Build | Models | Power | Fiber source |
|---|---|---|---|
| Inline / flying — Raycus source | Model reference on request | 20–60W | Raycus (RK20QS / RK20QE / TK30QS / RK30Q / RK50QB / RK60QB) |
| Desktop — Maxphotonics source | Model reference on request | 20–100W | Maxphotonics |
| Desktop — Raycus source | Model reference on request | 20–100W | Raycus (RFL-P20QS … RFL-P100Q) |
How a Job Is Set Up
- Load the part and set the focus distance for the lens.
- Import the mark file and set pulse, speed and frequency.
- Run a sample on scrap, check contrast, then save the recipe.
- Fix the jig for repeat positioning and start the batch.
- Scan the codes and log first-article approval.
CE Compliance
Every machine ships CE-marked, with conformity documentation available on request. We state the CE scope plainly and do not imply SASO, SABER, GCC or UKCA coverage we do not hold.
Getting It Right Before You Buy
The fastest way to be sure is to send us a part. We run a sample at the power you’re considering, show you the result, then quote against it — so you order with the setting sheet already proven.
Request a Quote · Download the Spec Sheet
Explore: Fiber Laser Marking (overview).
1-year warranty; installation, training & after-sales support available.