In short: Direct part marking is putting the identifier onto the part itself instead of onto a label attached to it. The code becomes part of the component, so it survives handling, washing, paint, heat and years of service, and the part can still be identified at the far end of its life when any label would have long since come off.
Why a Label Stops Being Enough
A printed label is fine while a part sits in a box. It stops being fine the moment the part goes through a process. Solvent wipes lift the adhesive, blasting takes the label off entirely, paint covers it, and heat treatment destroys it. Anything that has to be traced after those steps needs a mark that went on before them and is still there afterward.
The pressure usually comes from outside the shop. Aerospace, medical device, automotive and defense supply chains all require component-level traceability, and the customer specifies that the identifier is applied to the part, not to its packaging. Once that requirement lands, the question stops being whether to mark and becomes which method puts a readable mark on this particular part without harming it.
How the Mark Gets Onto the Part
The methods split by what they physically do to the surface.
| Method | What it does | Typical use |
|---|---|---|
| Dot peen | A carbide stylus indents a pattern of dots | Castings, forgings, heavy steel parts |
| Scribe or engrave | A tool cuts a continuous line | Softer metals, deeper marks |
| Electrochemical etch | Electrolyte and current remove or darken metal through a stencil | Stainless and other conductive alloys, thin parts |
| Chemical etch | A masked acid attack eats the surface | Flat stock, batch work |
| Ink or thermal transfer | Ink is deposited and cured on the surface | Plastics, cartons, non-critical parts |
| Stamping | A hardened die deforms the metal under load | Simple text on blanks, before machining |
| Laser marking | A focused beam oxidizes, anneals, foams or ablates the surface | Most metals and many plastics, fine features, no contact |
The full head-to-head, including where the mechanical methods are the better buy, is set out in laser marking vs stamping, dot-peen and inkjet. What matters for choosing is narrower than the list suggests: whether the part can take a deformation, whether it can take heat, and whether the surface will still give contrast after the part is finished.
What Actually Gets Marked
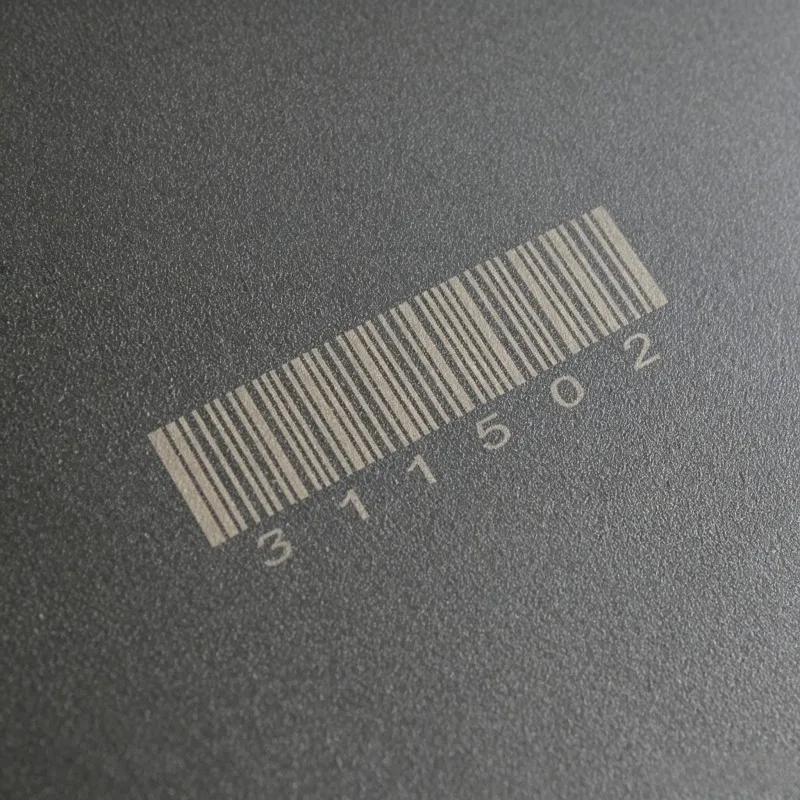
Most parts carry more than one thing in the marked area. The data itself goes into a 2D code, and in direct part marking that is nearly always a Data Matrix rather than a QR code, because it stays readable at small sizes and survives partial damage. Cell size and quiet zones are covered in Data Matrix and barcode marking.
Alongside it goes a human-readable line repeating the critical fields, so someone can read the part without a scanner. That is where serial numbers, VIN and date codes sit. A logo or compliance mark joins them where the customer or the regulation calls for one.
Getting a Code That Reads
Where contrast comes from
A mark that exists but does not scan has failed. Readability comes from contrast between the code and its background, and contrast depends on things that have nothing to do with the marking machine: the surface finish under the mark, the geometry the scanner has to see past, and the lighting at the read station.
This is why a code can verify perfectly at the marking cell and fail at goods-in two plants away. Dot peen marks read by shadow, so they need angled light. Laser marks on stainless read by color change, so they need diffuse light and go dark if the part is later passivated or blasted. Getting the read station right is as much of the job as getting the mark right.
What goes wrong
A code that reads on the bench and fails on the line is almost always a lighting problem rather than a marking problem. Before changing any marking parameter, take the failing part to the marking cell and scan it there. If it reads, the mark is fine.
The other common one: the same program marks cleanly on one batch of bar stock and poorly on the next. Look at the incoming surface before the settings. Mill scale, a different supplier’s finish, or residual cutting fluid will all change how a mark develops, and none of them are visible in the program.
On fatigue-critical parts, where the mark goes matters more than how it is made. Any mark that removes or deforms material is a stress raiser, which is why drawings for rotating and load-bearing components specify the marking zone. Marking outside it is a rejection, however good the code looks.
Choosing a Method for Your Parts
Work from the constraints inward. If the part cannot be deformed, the mechanical methods are out. If it cannot take heat, that rules out most of the thermal ones and points toward electrochemical etch or a cold source. If it has to survive abrasion, a mark with depth beats a mark that is only a color change. If it has to survive corrosion, the reverse is often true, because a recess holds whatever it is exposed to.
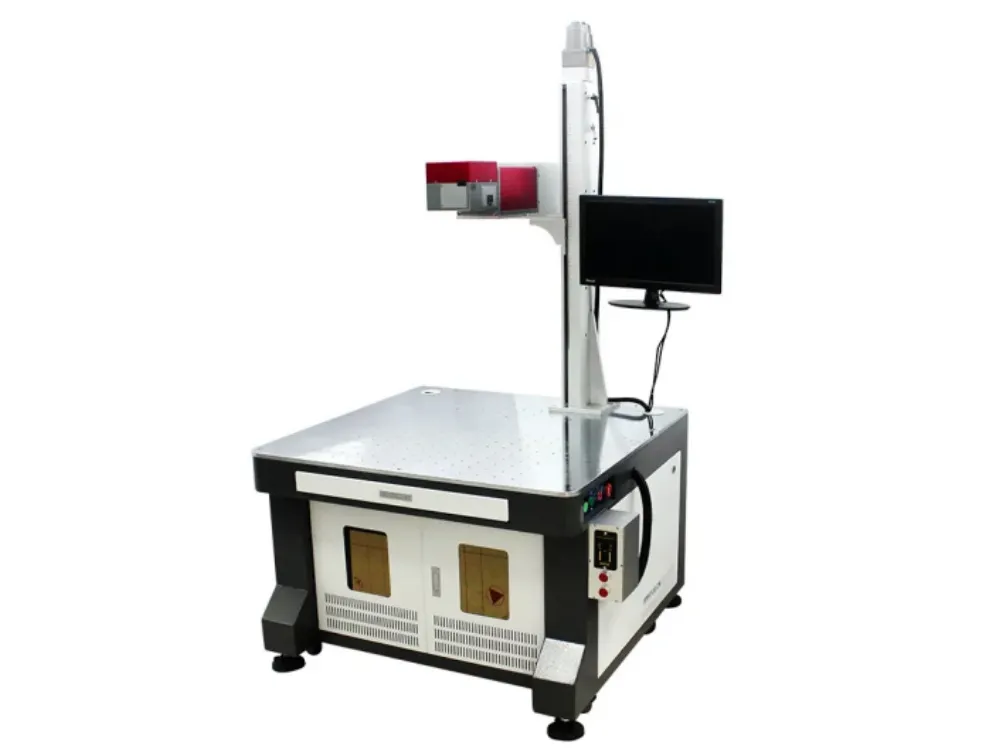
Where laser marking fits, the working envelope is worth knowing before specifying one. Marking depth runs up to about 1 mm depending on power and dwell, marking speed up to 10,000 mm/s, and the field is typically 100 to 300 mm square, with handheld units fixed at 100 × 100 mm. Machines run on 220 V and can be configured for 110 V, cooling is normally built-in air, and they carry a one-year warranty. For heat-sensitive materials a 355 nm ultraviolet source marks by a cold process rather than by burning, which is the usual answer on plastics and sensitive coatings. Anything beyond that — how a given alloy responds, what contrast you will actually get — depends on the material and is confirmed with a sample.
Equipment options across the sources are laid out in laser marking machines, and the source choice itself in fiber vs UV laser marking. On stainless specifically, marking stainless steel covers the contrast and corrosion trade-off.
Send a sample part before you specify anything. The honest way to settle a marking method is to mark the actual part, put it through whatever your process does to it afterward, and then try to read it. Tell us the alloy, the mark size you need and what the part goes through after marking, and we will run it. Contact Topstar
Common Questions
Is direct part marking the same as barcode labeling?
No. A label is attached to the part; a direct part mark is made in or on the part surface, so it survives processes that would destroy a label.
Which marking method lasts the longest?
It depends on what the part is exposed to, not on the method alone. Marks with depth survive abrasion and handling well. Marks that work by color change survive corrosive service better, because there is no recess to trap contaminants. Match the failure mode you expect.
Does the mark have to be machine readable?
Not always, but it usually ends up that way. If the identifier is going into a database at more than one point in the part’s life, a 2D code removes the transcription errors that human-readable text alone produces. Most specifications ask for both.
Can marking weaken the part?
It can, on parts that see cyclic load. Any mark that removes or deforms material creates a local stress concentration. Drawings for these components normally define where marking is allowed, and that zone is chosen for exactly this reason. Follow it.
Related
Equipment
Further reading
Get in touch
- Contact Topstar with a sample part and what it goes through after marking.