In short: Etching stainless steel means altering a thin layer of the surface so the mark sits in the metal rather than on it. Three methods do the work: an electrolyte and a low current pressed through a stencil, a masked acid attack, or a focused laser beam.
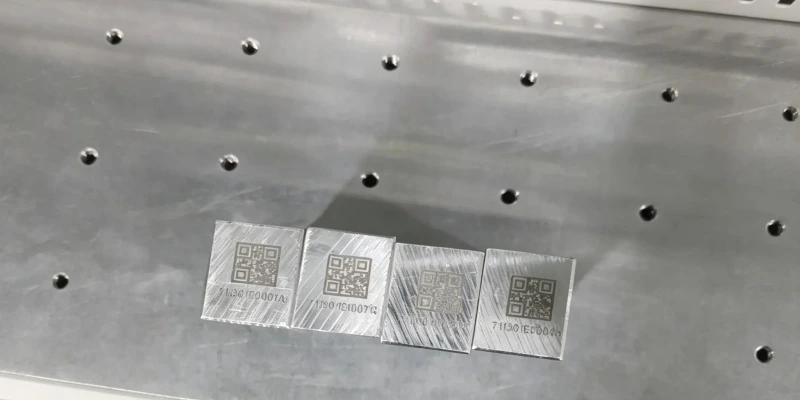
Most of what is written about etching stainless is aimed at a single piece at a bench, and simple chemistry handles that job well. This article covers the other version of the question: putting a legible, durable identifier on parts that leave the building, where the mark still has to read after the part has been finished, cleaned and put into service.
What Etching Actually Does to Stainless
The surface being cut into is the reason the alloy is stainless. A thin chromium-oxide film forms on its own wherever the metal meets air, and that film is what resists corrosion. Any etch breaks it locally, and what happens next depends on whether the film can rebuild.
What matters more than the method name is whether metal is removed. Some etches take material away and leave a recess you can feel, which survives abrasion and stays legible when the surface is scuffed. Others change the surface without removing anything, growing a darker oxide or altering its texture so the mark reads against the finish around it. The recess buys durability against handling. It also gives contaminants somewhere to sit.
The Three Ways It Is Done
Electrochemical etching
A stencil carrying the artwork is laid on the part, a pad wet with electrolyte goes over it, and a low-voltage current passes through. Direct current removes metal and leaves a shallow recess; alternating current darkens the surface instead. It works on any conductive alloy, handles thin material without heat, and needs very little equipment. Each mark consumes stencil life and electrolyte, and every mark has to be neutralized and rinsed afterward.
Chemical etching
The sheet is masked, exposed to an acid that eats the bare areas, then stripped and washed. Because the whole sheet goes through at once, cost per part falls as quantity rises, which makes it a flat-stock and batch process rather than a per-part one. Changing the artwork means cutting a new mask.
Laser
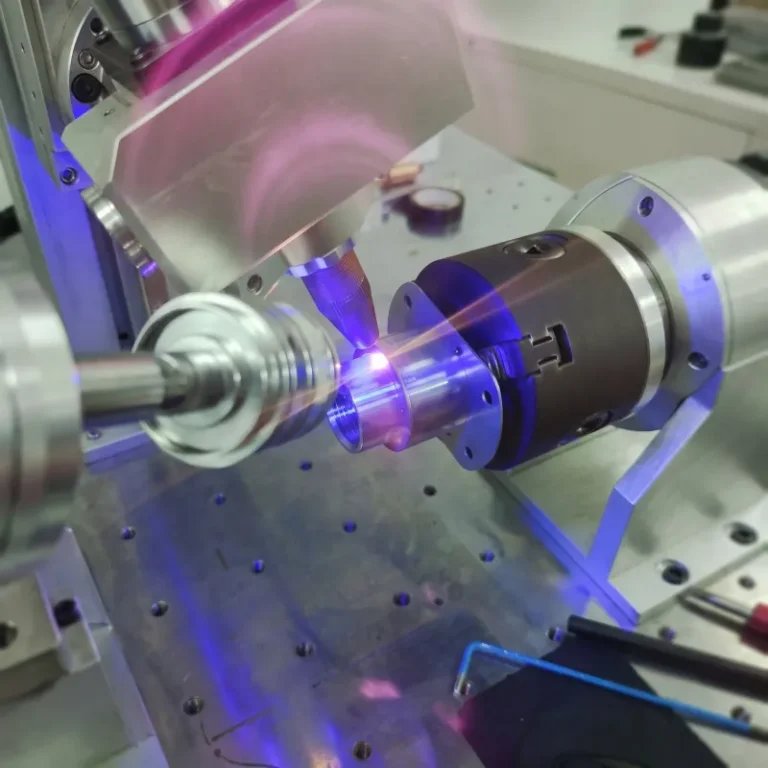
A 1064 nm fiber beam does three different things to stainless depending on how the pulses are driven. It can grow a dark oxide without removing metal, alter the surface texture for contrast, or cut material away for depth. There is no stencil, no chemistry and no consumable, and the artwork is a file rather than a tool. How each regime behaves on stainless, and which one leaves the surface corrosion-safe, is covered in laser marking on stainless steel. For where the mechanical and chemical routes are the better buy, see the non-laser alternatives.
Corrosion at the Mark
This is the part that catches people out, and it belongs to stainless specifically.
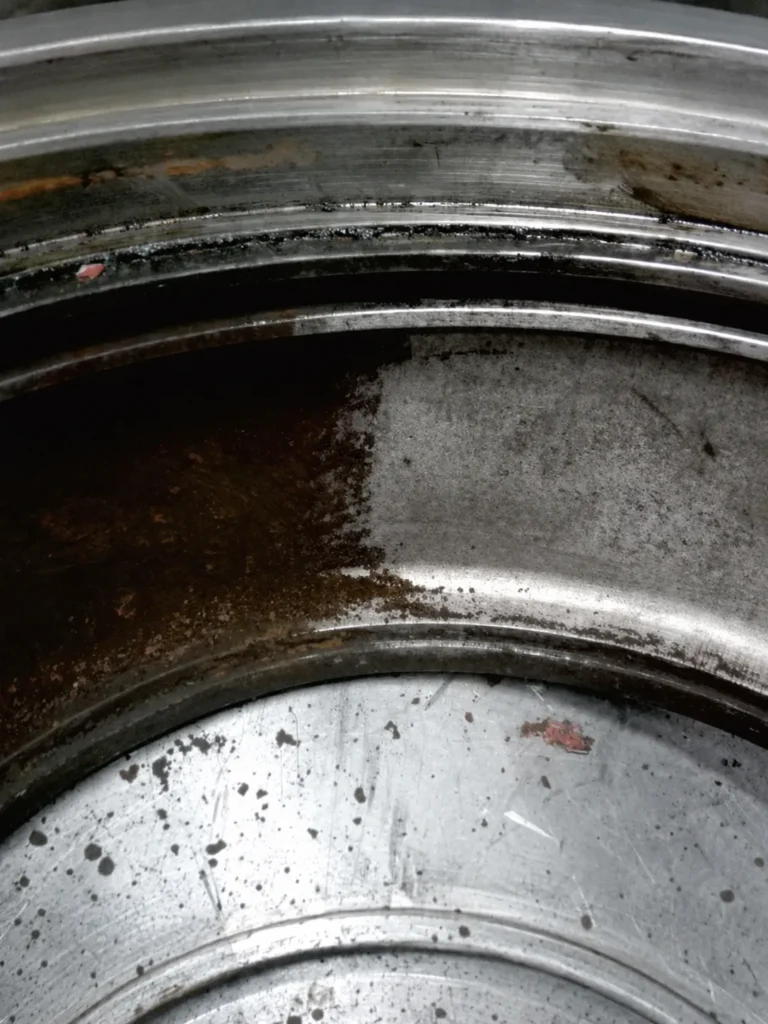
A mark made by removing metal is a small trap. Whatever the part is exposed to afterward collects in it, and the film that would normally protect the steel has been cut through. On parts that get washed down, run in saline, or sit in food contact, the mark is the first place rust appears.
Residual chemistry makes it worse, and it does so on a delay. Electrolyte that wicks under a stencil edge leaves a mark that looks correct on the day it is made; the halo of rust shows up weeks later, after the part has been washed, dried and stored. The failure is found at the customer rather than at the marking bench, which sends people looking at the wrong step. The fix sits in the rinse and neutralize stage, not in the mark.
Passivating after etching restores the oxide film, and on anything that sees washdown or salt it is a required step rather than a refinement. The alternative is not to break the film at all: an annealed laser mark grows oxide instead of cutting through it, which is why medical and food-equipment drawings usually call for one.
Mark a sample, then corrode it. Nothing on paper settles whether a mark survives your service conditions; it takes a marked part, put through those conditions, and looked at afterward. Send a part along with what it has to live through, and you get it back marked, ready for that test. Talk to Topstar
One Piece, or Every Day
For a single nameplate or a one-off fitting, a stencil and a pad will put a legible mark on stainless with almost no setup. That is a real answer, and for that job it is the right one.
Repeat work asks different questions. Position has to land in the same place on every part, which means a fixture rather than a steady hand. Cycle time starts to matter. So does whether an operator is handling acid, and whether the shop wants a rinse line and a waste stream at all. Consumables that are invisible at one part a week become a line item at four hundred.
Where the marking step sits in the routing decides more than the method does. A mark that reads dark against a 2B mill finish can go nearly invisible on the same alloy after bead blasting or brushing, because contrast is always against the surrounding surface rather than against the steel in the abstract. Settling the sequence, and usually marking after final finishing, removes the problem before it appears.
Depth is the other thing worth deciding early, and it matters most on thin material. Removing metal, or heating a panel enough to etch deeply, pulls light-gauge sheet out of flat, and the distortion shows up well before the extra depth buys any durability. On thin work a surface mark with good contrast beats a deep one.
Equipment across the three sources is listed under laser marking equipment, and identifier formats under serial and date code marking. The wider question of putting the identifier on the part instead of on a label sits in what direct part marking is.
Common Questions
Can you etch stainless steel without chemicals?
Yes — a laser does it with light alone, so there is no electrolyte, no acid and no waste stream to handle.
How do you check that a mark will still read after the part is finished?
Mark a sample, put it through the actual finishing and cleaning steps the part will see, then look at it under the lighting it will be read in. If contrast has dropped, move marking later in the routing rather than cutting deeper.
Does etching make stainless steel rust?
It can. Any method that removes metal breaks the chromium-oxide film and leaves a recess that holds whatever the part is exposed to. Passivating after etching restores the film, and a mark that grows oxide rather than cutting through it avoids the problem in the first place.
Is laser etching the same as laser engraving?
No. Etching works on the surface and leaves the part flat, while engraving cuts down into it. Which one a drawing calls for usually turns on whether the mark has to survive grinding or coating and laser marking vs laser engraving works through that choice.
Related
Equipment
Further reading
Get in touch
- Talk to Topstar about a stainless part and the conditions it has to survive.